With Easter on Sunday, I thought it would be a cute idea to do an Easter DIY post. I found the Easter Fortune Eggs video a while back and have wanted to try it for awhile. They look like the cutest things ever and I am pleasantly surprised with how they turned out. Due to the fact that we will be using and hollowing out eggs, I also included a quick Egg Mask DIY! Both of these DIY's are very easy to make and are inexpensive. I hope you guys like this post, because I had such a fun time making it!
Let's get started! These are the things that we will need:

1. Eggs
2. Egg Dying Kit
3. Stickers
4. Paper
5. Scissors
6. Thumbtack
7. Straw
8. Fun Colored Pens (Optional)
9. Easter Grass
10. Small Drawstring Bag or Easter Takeaway Containers
11. Bowl
Now that we have all our supplies, let's get started with the first step!
Step 1: We need to hollow out our eggs. In order to do that we will need to poke two holes into the egg, one at the top of the egg and one at the bottom of the egg. The size of the wholes should be slightly larger than a grain of rice. Place your bowl in front of you and take your straw and place it over the whole at the top of the egg and blow into it. This will cause the egg whites and yolk to be pushed out of the other end, into our awaiting bowl. Repeat this step with as many eggs as you want or need. Once all the egg blowing is done, place the bowl filled with the egg whites and yolks into the fringe, we will be using those later for a DIY egg mask.


Step 3: Grab your egg dying kits and follow the directions! Once you finish dying your eggs, set them somewhere to dry!


Step 4: While they dry let's get to work on the fortunes that are going to go into the eggs! To begin with you will need paper, I used plain white, but any color will do. Take your pen or marker, (Again, I used fun colors, but any will do!) and write something special to the person that that egg is going too.


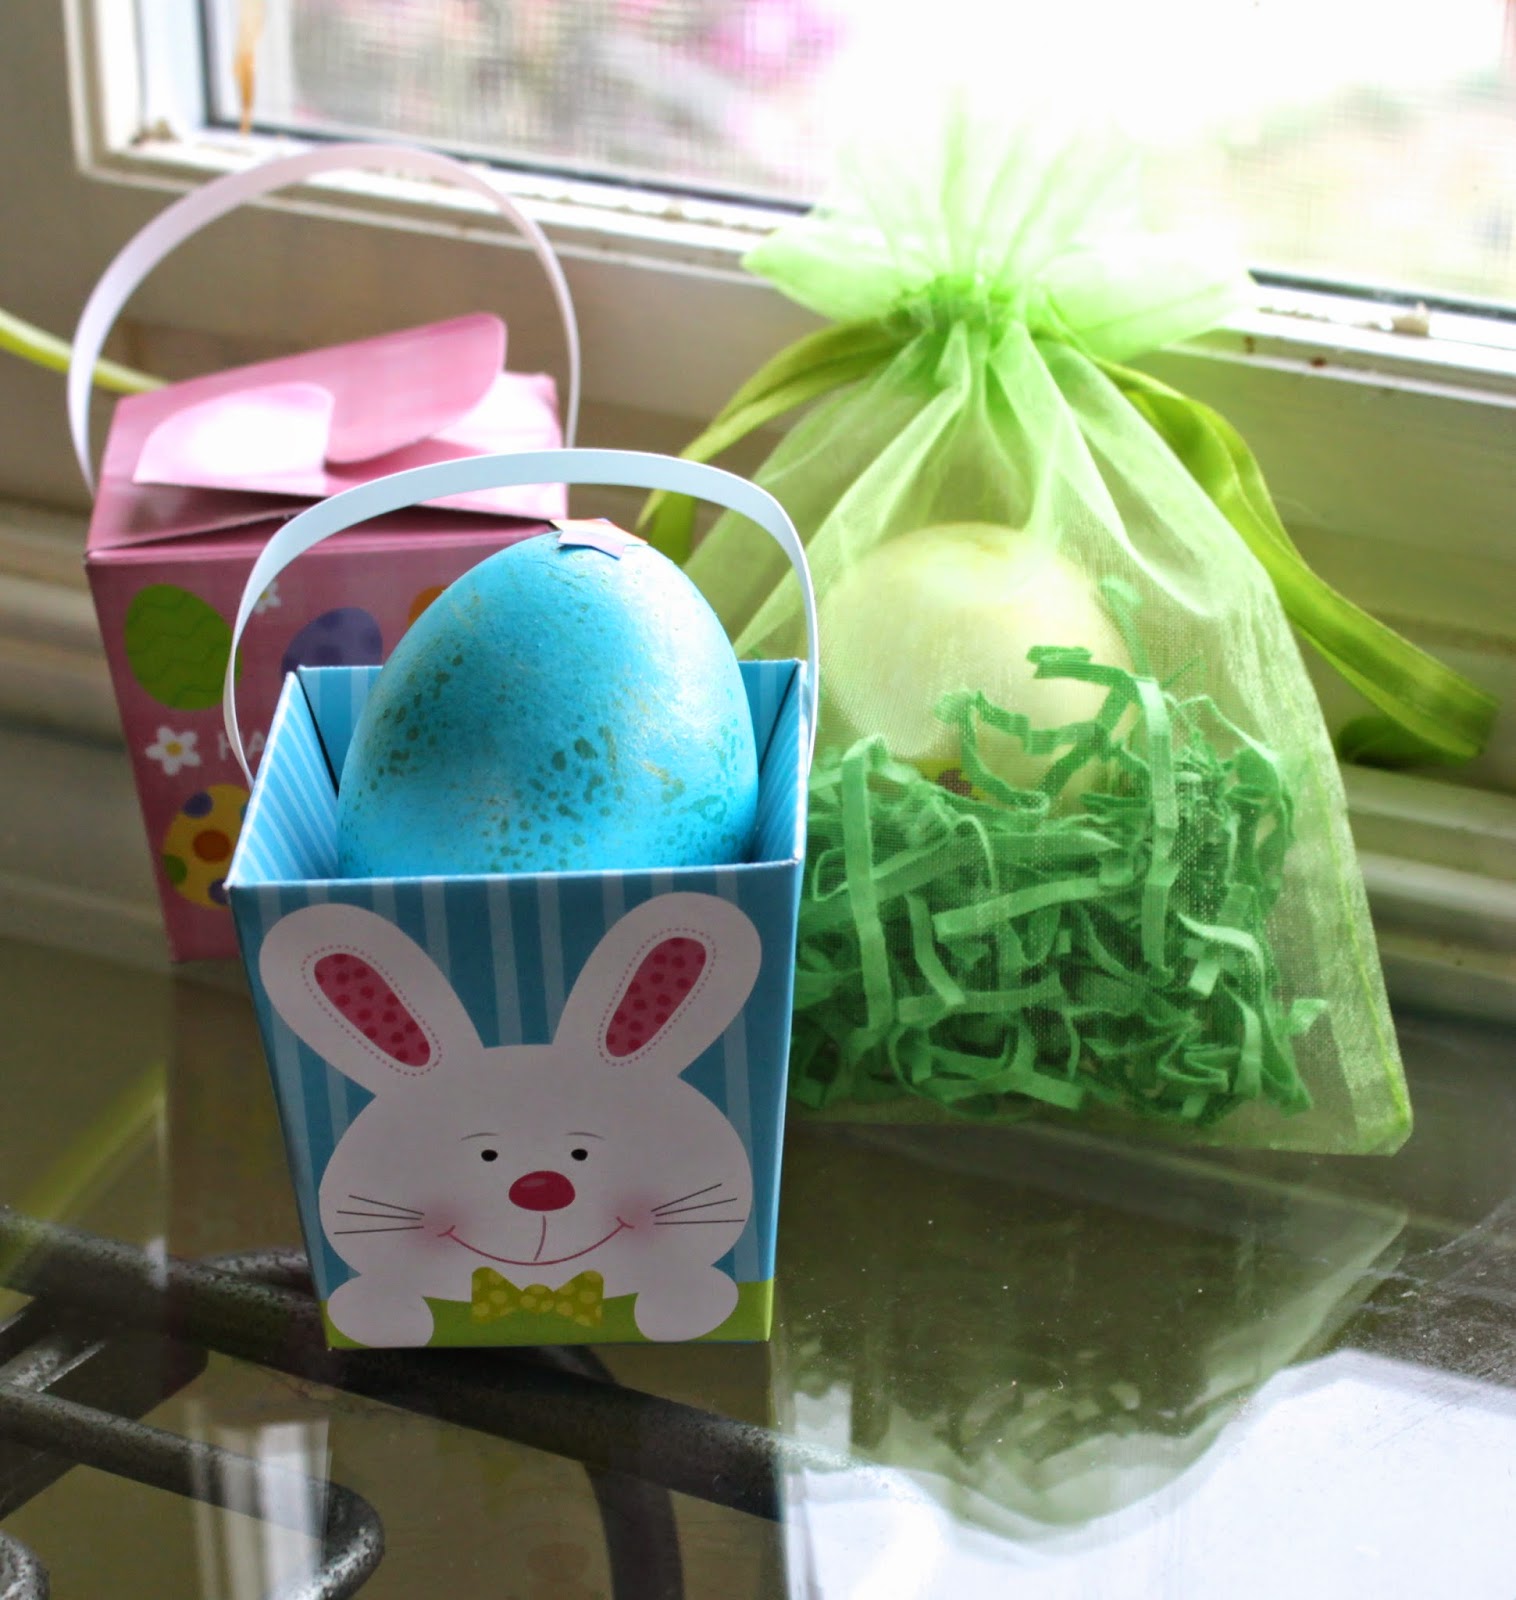
Step 5: Once the fortunes are ready set them aside. I thought it would be a cute idea to put the eggs in something before I gave them out. I have two different options. For the first option I went to my local craft store and picked up a few of these sheer draw string bags. I filled it loosely about halfway with Easter grass. The second option are these little Chinese takeaway containers that have fun, Easter-themed prints on them. I filled these, also, about half way with the same Easter grass.


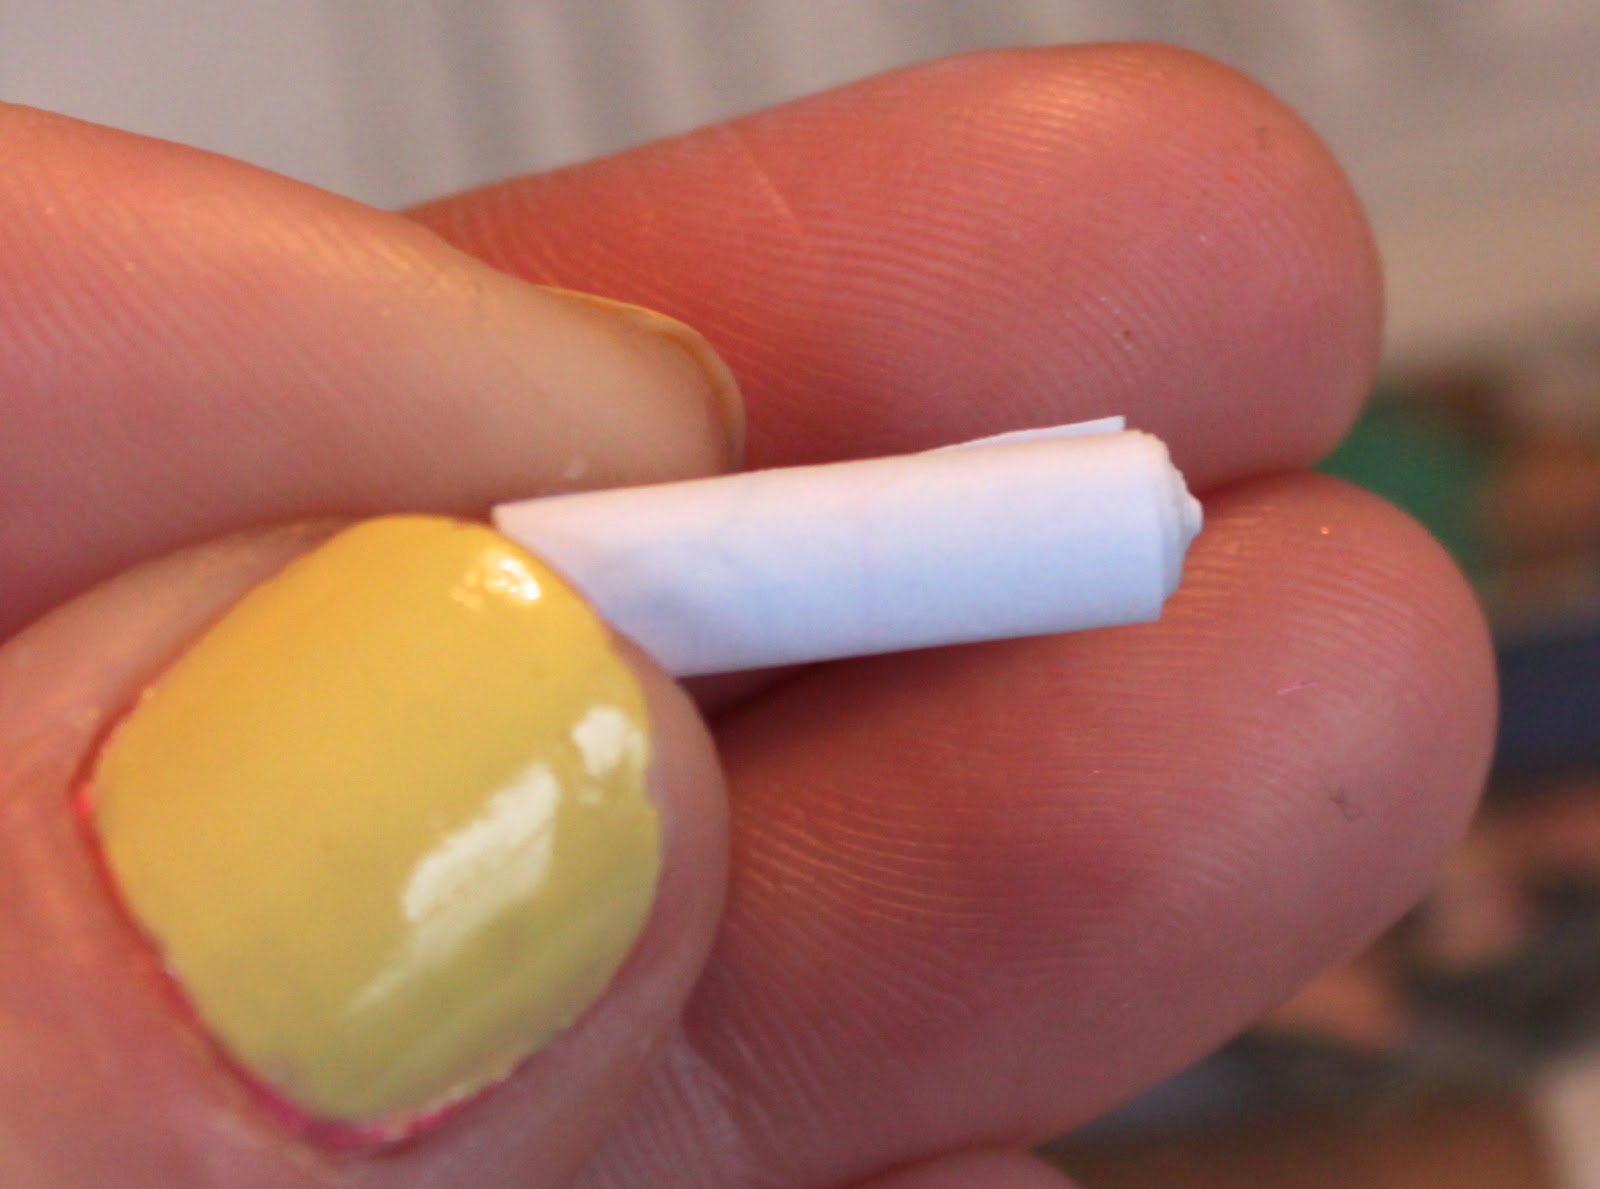
Step 6: Once the eggs have finished drying, roll your little fortunes up and slide them into the eggs through the whole that we made to drain the eggs. You can leave it there or take it a little further. I grabbed some stickers from another easter egg dying kit and put the sticker over the whole, so that they wouldn't show. Then plop your egg into the packaging and it is all set to go!


Yay! Our Easter Fortune's are done!! They look great! But wait, we have all of those leftover eggs! What ever should we do with them? Well, I know! Let's make an egg mask for our face! Here is what we will need:
- 1 Egg
- 1/2 Teaspoon of Honey
- 1 Teaspoon of Fresh Lemon Juice
I hollowed out three eggs, so I am going to triple the above recipe. So here are the new measurements:
- 3 Eggs
- 11/2 Teaspoons of Honey
- 3 Teaspoons of Fresh Lemon Juice
Mix all of your ingredients into a bowl. Once mixed, apply to face (preferably over a sink, in case there is spillage!) Let dry for 15 to 20 minutes and then wipe off with a warm wash cloth. All of the excess I put in a mason jar and kept it in the fridge. It will stay good for about a week.


Thank you all so much for reading! I hope you found this DIY fun and easy to recreate! Do you guys have any fun Easter DIY ideas? Enjoy your weekend and Happy Easter to all those who celebrate it!
Lots of Luck,
Mallory
No comments:
Post a Comment